
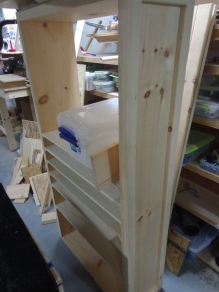
For the longest time this is as far as Karen’s Jewelry Armoire had progressed. After the Christmas rush and the list of projects I had given Jay to work on, he was finally able to get back to it.
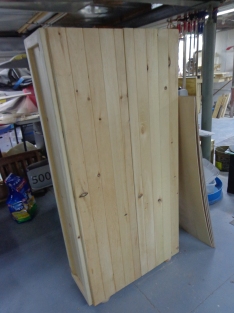
The hinges had to be purchased, but once they had Jay was able to get the doors hung on the cabinet.
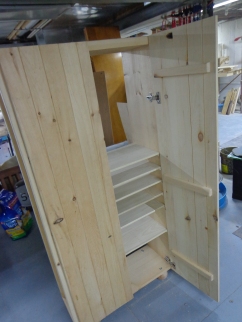
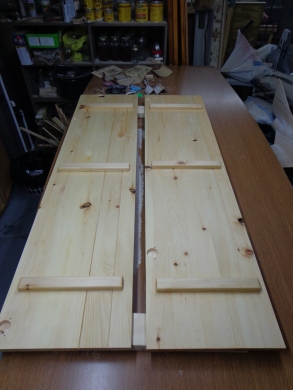
We used off-set hinges so that they don’t show from the outside.
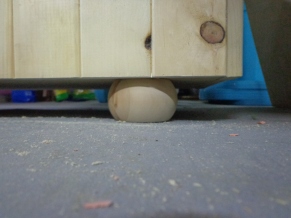
And we gave it feet:
At this point we were ready to start finishing it. Actually, that’s my job so I guess that it was ready for me to start finishing it. Except… Jay came home and told me that he had a new finishing table for me. His work place was going to throw it out, but he snatched it just in time.
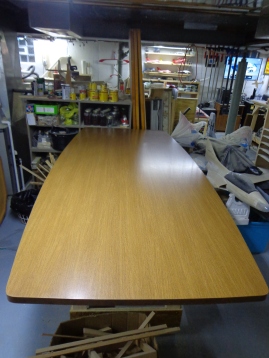
It was an old conference table that they no longer needed. It’s 8 ft long and VERY heavy. Since it was a conference table, though, Jay built a new base for it that would raise it up to a height that is more suited for the tall finishing department.
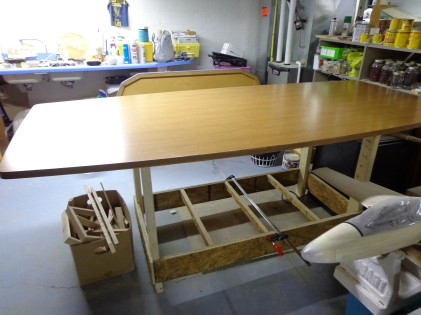
It’s not a fancy base, but it works. There will be a shelf installed so that I can store some of my things under there. Isn’t it nice?
So as I got ready to start working on the doors to the armoire Jay realized that only one side of the table was well lit. Being a good husband he got right to work making a new LED light to be installed over the dark side.
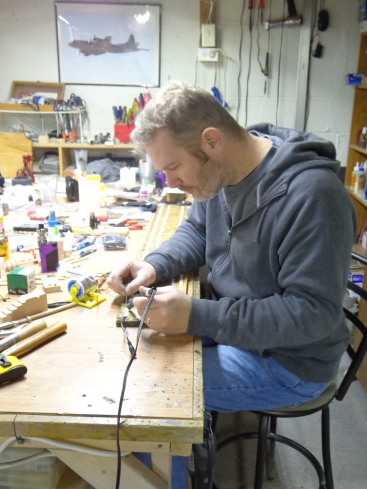
It’s a simple light: four LED strips, a few jumper wires, and a wall wart. Oh, and the board that it’s installed on and will be screwed to the floor joists above the table.
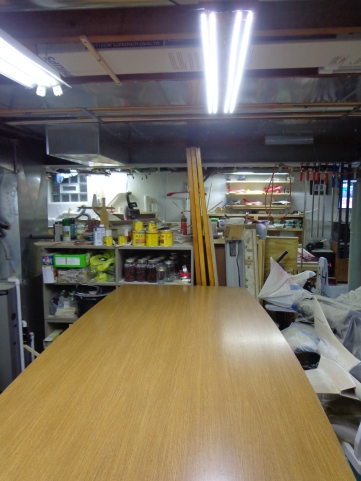
Not very fancy, but it works a treat!
With the lighting now more than adequate I could get to work on the doors.
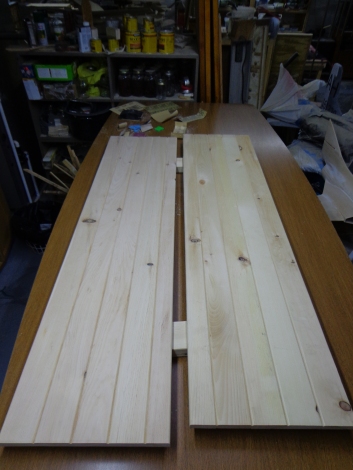
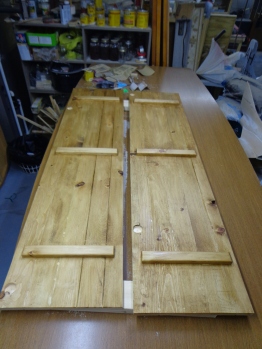
The door on the left is sanded. The door on the right has not been touched.
You can almost feel the smoothness of it from this picture. I spent almost 2 hours on each door, starting with 100 grit and working my way up to 220 grit. One of the doors I actually had to start with 60 grit, but I got it knocked down smooth.
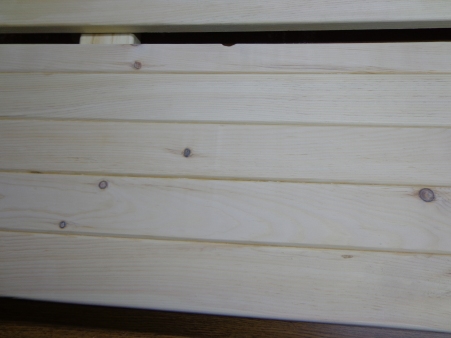
This is the one that required 60 grit to start out. Can you see the roughness? A little elbow grease and persistence (and 2 hours) will remove it.
You will end up with this:
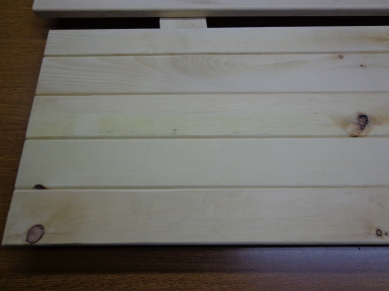
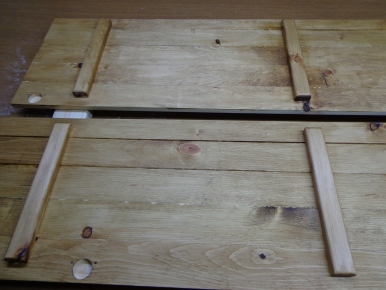
This is the inside of the doors. Fully sanded and ready for stain.
But what color??
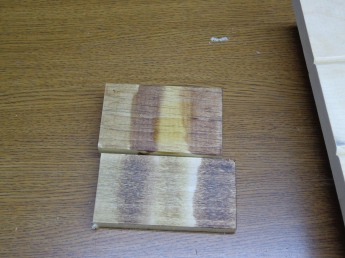
The top piece of wood is pine, which is used for the majority of the armoire. The bottom piece is poplar, which was used for the shelves. As you can see the two different woods took the stain much differently. I asked Jay which he preferred and then opted to go with that choice.
Jay has been designing this cabinet with more of a rustic feel to it, so when he chose the stain I could see how it would work. Also, if you call something rustic then you can forgive the flaws a little easier!
I am only going to stain one side of the doors at a time so that they can dry properly and won’t get marks from where they come into contact with the surface that they are sitting on. I started with the inside to see how it would look.
Not too bad. This is definitely not a showcase piece. It won’t be featured on the front of Fine Cabinetry magazine. However, I do think that it looks a lot like what you would find in an antique shop. When you open up a cupboard and can tell that it’s been used quite a bit and has some stories to tell. Obviously, I’ll have to make up some stories for this one to tell, but I think it will end up looking okay.
Here’s another way to look at it… if somebody breaks into your house are they going to suspect that you keep all of your jewelry in what appears to be an older antique cabinet? Well, I guess that if they read this blog they will, but more than likely they’ll be looking for a safe or an actual jewelry box.
So that’s where we stand with the Jewelry Armoire as of today.
